데이터 시각화를 위해 Python을 사용해야 하는데
그 중에서도 Django framework를 사용하고 싶다
또한 Back/Front 분리를 위해 front는 React를 사용하려고 한다
React에서는 axios로 Django로부터 Rest API로 데이터를 받아와서 사용할 것이다
Django와 React를 연동하는 몇 가지 예제를 찾아봤지만 React에서 eject(npm run eject)해서 시작하기 때문에 그 방법은 사용하지 않았다
① Django 설치하기
virtualenv 가상환경이 설치되었다고 가정하고 시작하겠다
mkdir django-react
cd django-react
virtualenv venv
source venv/bin/activate	// 가상환경 실행
pip3 install django
django-admin startproject backend .	// backend 폴더, manage.py 생성
python3 manage.py startapp mall
backend/settings.py
INSTALLED_APPS = [
	'mall',
]

LANGUAGE_CODE = 'ko-kr'

TIME_ZONE = 'Asia/Seoul'
python3 manage.py migrate
python3 manage.py createsuperuser	// 관리자 계정 생성
python3 manage.py runserver
서버를 실행해 보면 한글로 잘 뜨는 것을 볼 수 있고
`localhost:8000/admin`
② admin 페이지에 model 추가하기
mall/models.py
from django.db import models

class Product(models.Model):
    name = models.TextField()

    def __str__(self):
        return self.name
mall/admin.py
from django.contrib import admin
from .models import Product

admin.site.register(Product)
python3 manage.py makemigrations
python3 manage.py migrate
③ rest framework 설치하기
pip3 install djangorestframework
backend/settings.py
INSTALLED_APPS = [
    'rest_framework',
]
mall/serializers.py
from rest_framework import serializers
from .models import Product

class ProductSerializer(serializers.ModelSerializer):
    class Meta:
        model = Product
        fields = '__all__'
serialization(직렬화)은 컴퓨터 과학의 데이터 스토리지 문맥에서 데이터 구조나 오브젝트 상태를 동일하거나 다른 컴퓨터 환경에 저장하고 나중에 재구성할 수 있는 포맷으로 변환하는 과정이다
즉, 어떤 모델 클래스에서 이 클래스 인스턴스가 어떻게 json 형태로 바뀌는지, 그리고 json 데이터는 어떻게 다시 클래스 인스턴스로 바뀌는지 정의를 하는 것이다
④ REST API 세팅하기
mall/views.py
from django.shortcuts import render
from rest_framework import viewsets
from .serializers import ProductSerializer
from .models import Product

class ProductView(viewsets.ModelViewSet):
    serializer_class = ProductSerializer
    queryset = Product.objects.all()
Django REST framework는 단일 클래스에 관련 있는 view들을 결합한 ViewSet 기능을 제공한다
즉, ViewSet은 여러 가지 API의 기능을 통합해서 하나의 API Set로 제공한다
backend/urls.py
from django.contrib import admin
from django.urls import path, include
from rest_framework import routers
from mall import views

router = routers.DefaultRouter()
router.register('Product', views.ProductView, 'Product')

urlpatterns = [
    path('admin/', admin.site.urls),
    path('api/', include(router.urls)),
]
서버 실행 후
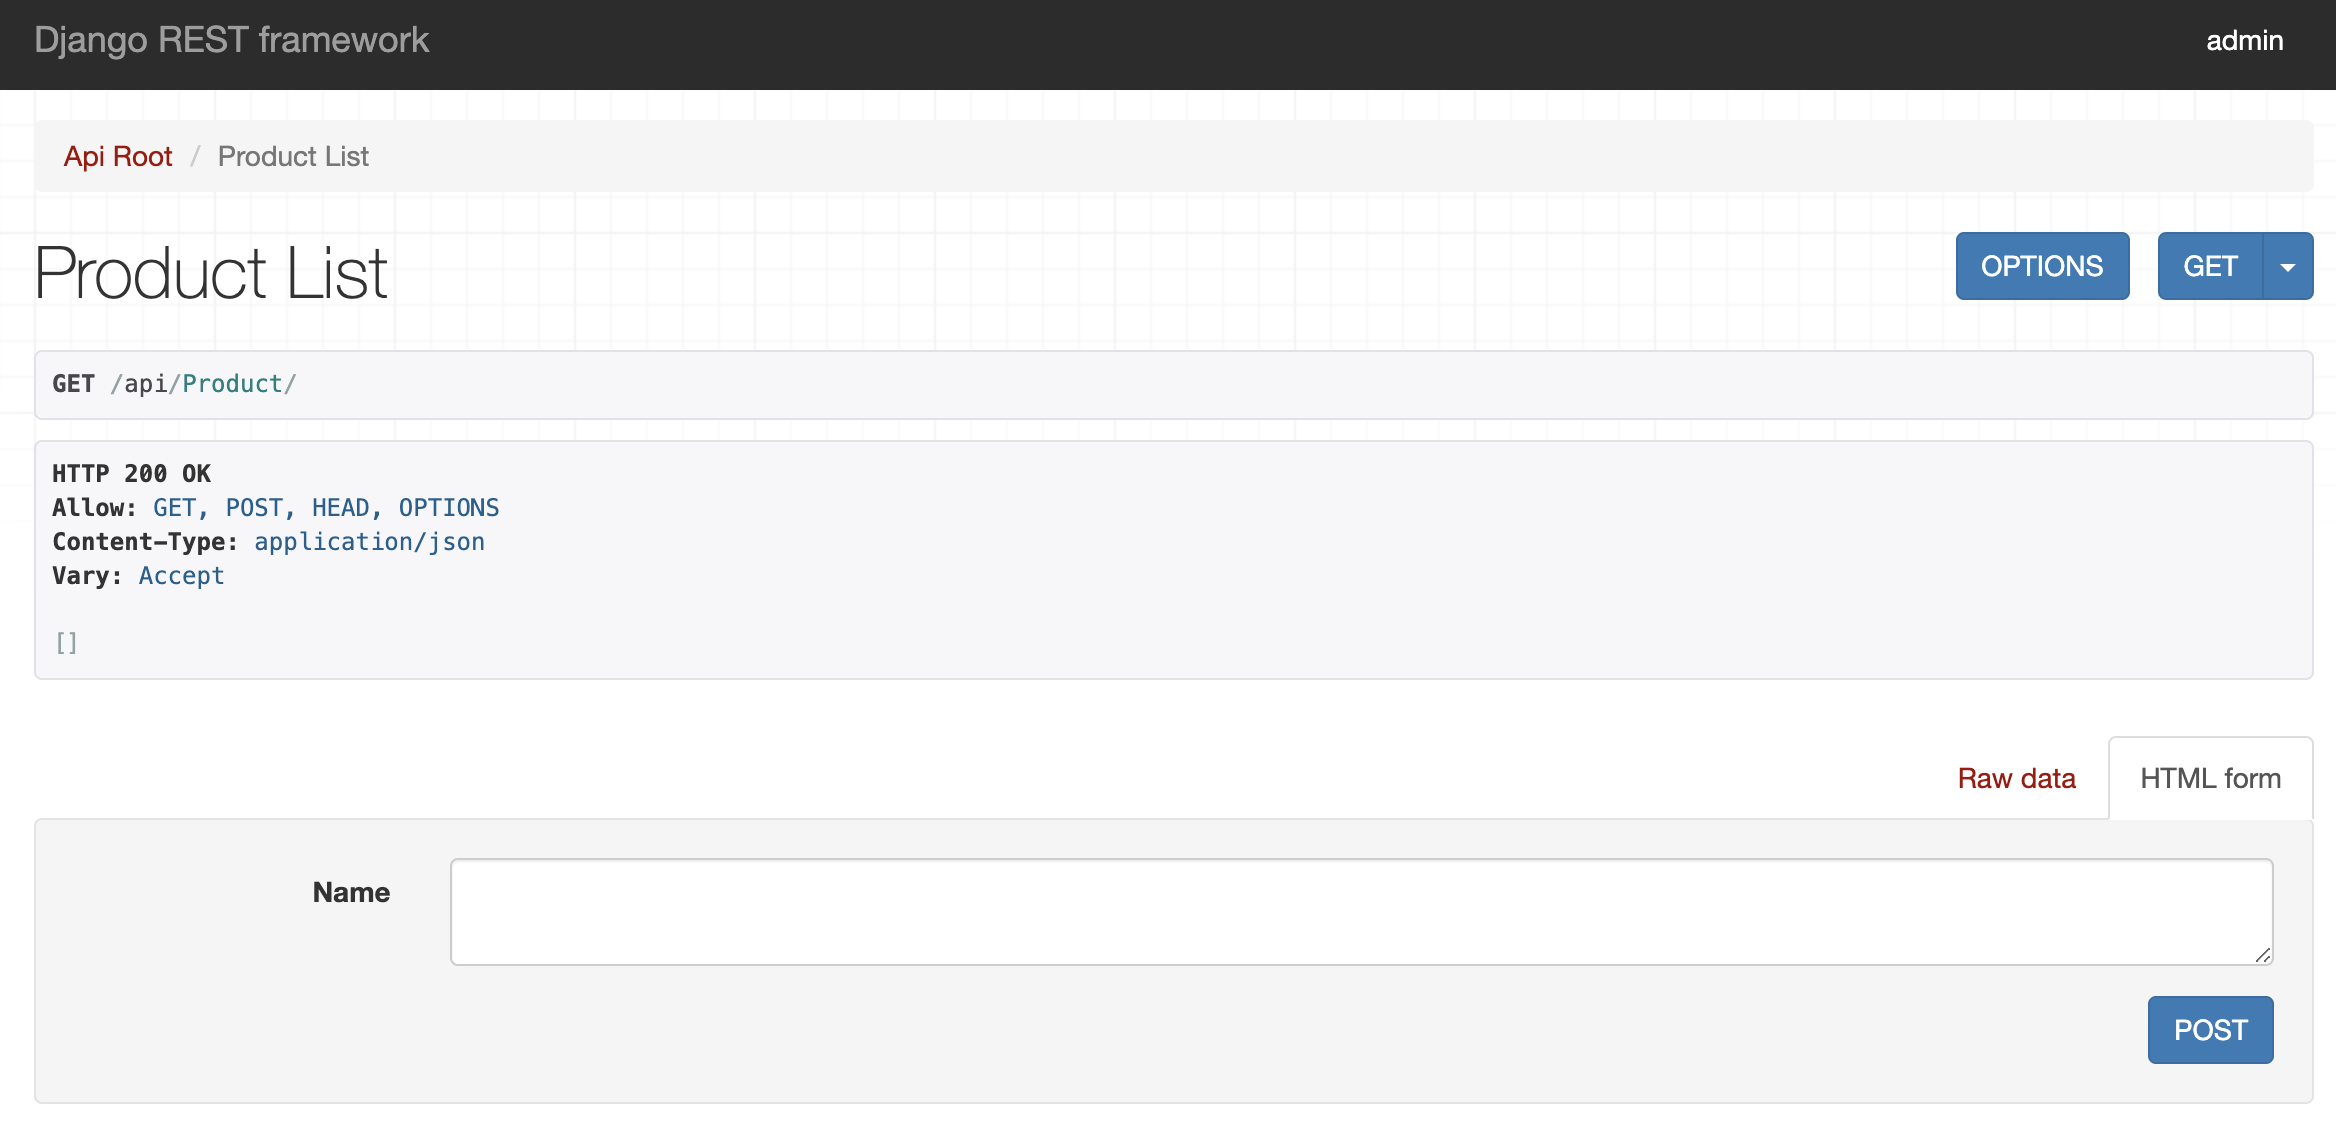
`localhost:8000/api/Product`에 접속하면 API를 확인할 수 있다

⑤ React 설치하기
// django-react root directory에서 설치
npx create-react-app frontend
frontend/package.json
{
	"proxy": "http://localhost:8000",
}
React에서 proxy를 설정함으로써 개발은 3000 port에서 실행, 서비스는 8000 port에서 실행하도록 한다
React에서 백엔드 서버로 API 요청 시 호출 할 때 발생 할 수 있는 CORS 관련 오류를 방지하기 위하여 Proxy를 설정해 준다
8000 port에서 api를 받아올 수 있도록 설정하는 것이다
⑥ CORS 관련 세팅하기
CORS(Cross-Origin Resource Sharing)는 클라이언트와 서버의 포트가 다른 상태에서 클라이언트 측에서 서버 측으로 무언가를 요청했을 때 브라우저가 보안상의 이유로 요청을 차단하는 문제다
React의 3000 port에서 Django의 8000 port로 요청했을 때 보안상의 이유로 차단되기 때문에 이를 해결해 줘야 한다
pip3 install django-cors-headers
backend/settings.py
INSTALLED_APPS = [
    'corsheaders',
]
MIDDLEWARE = [
    'corsheaders.middleware.CorsMiddleware',
]

CORS_ORIGIN_WHITELIST = [
    'http://localhost:3000',
]
CORS_ORIGIN_WHITELIST에 등록된 url에서의 접근만 허용 가능
localhost:3000으로부터 오는 요청 처리 가능
⑦ frontend index.html 파일로 django url 라우팅
backend/urls.py
from django.views.generic import ProductView

class HomeTemplateView(ProductView):
    template_name = 'index.html'

urlpatterns = [
    path('', HomeTemplateView.as_view(), name='home'),
]
// frontend 디렉토리에서 실행
npm run build
React에서 build 폴더 생성
frontend 코드 변경 후 backend에서 보여지는 실서비스 서버에도 반영하기 위해 필요한 과정이다
backend/settings.py
import os

TEMPLATES = [
    {
        'BACKEND': 'django.template.backends.django.DjangoTemplates',
        'DIRS': [
            os.path.join(BASE_DIR, 'frontend', 'build'),
        ],
    }
]

STATICFILES_DIRS = [
    os.path.join(BASE_DIR, 'frontend', 'build', 'static')
]
`localhost:3000`과 `localhost:8000`에서 똑같이 React 페이지가 뜰 것이다
앞서 말했듯이 3000 port는 개발, 8000 port는 서비스를 위한 port이기 때문에
React index.html에서 간단하기 <title></title>을 React App => Django React로 수정했다
npm run build를 하지 않았기 때문에
8000, 3000 port에서 각각 다르게 보여야 한다

서비스 port
React에서 build를 안 했기 때문에 수정사항이 반영되지 않은 것을 볼 수 있다

개발 port
title을 수정한 사항이 반영됐다


